
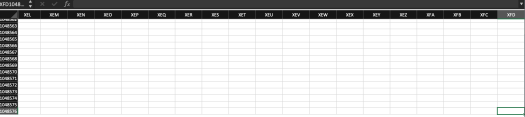
This page helps to understand some useful notions about sheet objects in VBA. Sheets are presented in the Excel tool as tabs. A sheet has since the 2007 version of Excel 1,048,576 rows for 16,384 columns.
To manipulate a worksheet in a VBA macro, you can use the Sheet or Worksheet object in the Worksheets collection.

Add a new sheet
When you launch a macro to create a report or an analysis from data, I advise you to create your macro buttons on a sheet then the macro will create in a new workbook, or the same workbook of new sheet with your analysis .
To create a new sheet use the Add method of the Sheets collection.
By adding a new sheet, you can specify its place using the After or Before arguments. If nothing is specified on these arguments, then the new sheet will be automatically after the active sheet.
Don’t forget to use the Set tool to match all objects in your code with a declared variable.
Sub CreateNewSheet()

     'Declaration
     Dim WbMacro As Workbook
     Dim ShMenu As Worksheet
     Dim ShData As Worksheet
     Dim ShResults As Worksheet
     Dim ShAnalysis As Worksheet

     'Initialisation
     Set WbMacro = ActiveWorkbook
     Set ShMenu = WbMacro.Sheets("MENU")

     'One method
     WbMacro.Sheets.Add Before:=WbMacro.Sheets(ShMenu.Name)
     Set ShAnalysis = WbMacro.ActiveSheet
     ShAnalysis.Name = "Analysis" 'Rename the tab

     'Another method with one line of code
     Set ShData = WbMacro.Sheets.Add(After:=WbMacro.Sheets(ShAnalysis.Name))
     ShData.Name = "WEATHER DATA" 'Rename the tab

     'Add the new sheet after the last sheet using the Count property
     Set ShResults = WbMacro.Sheets.Add(After:=WbMacro.Sheets(WbMacro.Sheets.Count))
     ShResults.Name = "RESULTS" 'Rename the tab

     ShMenu.Activate

End Sub
Import a sheet in a workbook saved in your computer
The procedure below allows you to import a sheet located in a workbook.
Using the button, as in the project explorer article, you can ask the user to select the desired file. Then using the Open method of the workbook object, you can open the desired workbook and copy-paste the desired table.
Sub ImportSheet()
'To import a sheet from another workbook

    Dim WbMacro As Workbook
    Dim ShMenu As Worksheet

    'Initialisation
    Set WbMacro = ActiveWorkbook
    Set ShMenu = WbMacro.Sheets("MENU")

    FilePathName = Range("D6").Value 'Path of the file
    Filename = Range("D7").Value 'Name of the file

    Workbooks.Open Filename:=PathName & Filename 'Open the workbook
    Set TempWb = ActiveWorkbook 'Initialise the variable
    TabName  = ActiveSheet.Name  'Retrieve the name of the tab

    Sheets(TabName).Copy After:=ShMenu
    TempWb.Close SaveChanges:=False 'Close the temporary wbk
    ShMenu.Activate 'Activate the menu sheet

End Sub
Copy / Paste / Rename a sheet
The procedure below shows how you can copy and paste and rename a sheet in VBA. All methods Copy, Name and Tab.Color are attached to the sheet object.
Sub CopyPasteAndRenameTab()

    'Copy-paste the tab
    Sheets("Menu").Copy After:=Sheets("Menu")

    'Rename the Tab
    ActiveSheet.Name = "New Copy Tab"
    'Change the colour of the tab
    Sheets("New Copy Tab").Tab.Color = RGB(255, 94, 32)

End Sub

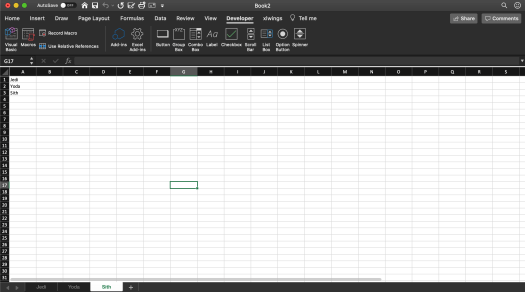
Move a sheet
To reclass your sheet automatically with VBA, you can use the Move property by stipulating the order if you prefer to put your sheet after or before another one.
Sub MoveSheets()
'Reclass your sheets

    Sheets("Jedi").Move after:=Sheets("Sith")
    Sheets("Sith").Move before:=Sheets("Yoda")

End Sub
Print a sheet
To print a sheet, use the PrintOut method as for printing a workbook. This method take has arguments the following values: From, To, Copies, Preview, ActivePrinter, PrintToFile, Collate, PrToFilename, IgnorePrintAreas…
Sub PrintSheet ()
'Print a sheet

     Sheets("Games").PrintOut From:=1, To:=2, Copies:=2

End Sub

Sort sheets in alphabetical order in VBA
To navigate in the workbook more efficiently, it may be useful to reclassify your sheets efficiently.
To find your way around, nothing better than sort sheets in alphabetical order. We are therefore going to re-sort the sheets by looping on the tabs and using the move property.
Sub SortSheetsTabs()
'Sort all sheets in alphabetic order

    'Deactivate the screen updating
    Application.ScreenUpdating = False

    Dim NbSh, i, j As Integer

    NbSh = Sheets.Count 'Give the number of sheet in the wbk

    For i = 1 To NbSh - 1
        For j = i + 1 To NbSh
            If UCase(Sheets(j).Name) < UCase(Sheets(i).Name) Then
                Sheets(j).Move before:=Sheets(i)
            End If
        Next j
    Next i

    Application.ScreenUpdating = True

End Sub

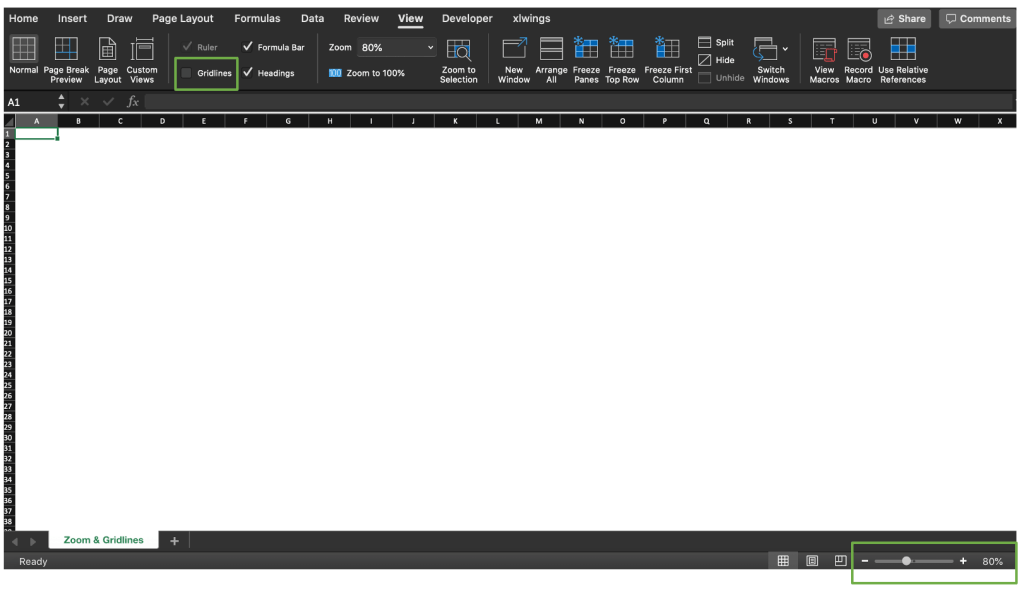
Define zoom and view of gridlines
If you need to see more data on your screen, one option is to shrink the zoom which by default is 100% on the sheet. You will be able to see more rows and columns with an 80% zoom while remaining readable.
The Excel sheet has by default a grid to separate the different cells, you can also deactivate this grid if you want to design your borders.
Sub ChangeGridlineAndZoom()

   Sheets("Weather").Activate

   ActiveWindow.Zoom = 80
   ActiveWindow.DisplayGridlines = False

End Sub
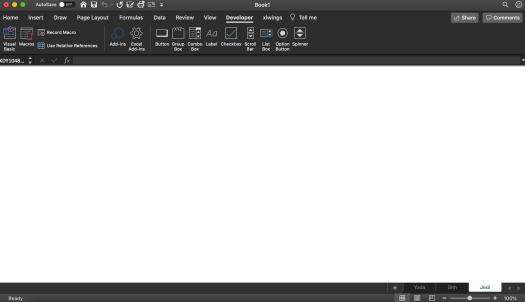
Display object method
Several methods of the ActiveWindows object will applied on a sheet object to display or not several properties.
Sub BooleanDisplayOrNot()

    'Boolean values True or False
    ActiveWindow.DisplayFormulas = True 'To not display formulas
    ActiveWindow.DisplayGridlines = False 'To not display gridlines
    ActiveWindow.DisplayHeadings = False 'To not display headings
    ActiveWindow.DisplayOutline = True 'Display the outline symbols
    ActiveWindow.DisplayZeros = False 'To not display zeroes in the sheet
    ActiveWindow.DisplayHorizontalScrollBar = True 'To display the Scroll Bar
    ActiveWindow.DisplayVerticalScrollBar = True 'To display the Scroll Bar
    ActiveWindow.DisplayRightToLeft = True 'To display the right to left
    ActiveWindow.DisplayWorkbookTabs = True 'To display other tabs
    ActiveWindow.DisplayWhitespace = True 'To display the whitespace
    ActiveWindow.DisplayRuler = True 'To diplay the rules

End Sub
Loop on all sheets in VBA
Most of the time you need to move from one sheet to another because the user data are in different places. For this, it is necessary to be able to move on the sheets of your workbook by looping on tabs.
Sub LoopSheets()

    Dim Sh As Worksheet

    'Loop on all sheets in the wkb
    For Each Sh In ActiveWorkbook.Sheets

            'Write on all sheets
            Sh.Range("A1").Value2 = "Hello"

            'Clear all sheets if "Hello" is on A1
            If Sh.Range("A1").Value2 = "Hello" Then
                Sh.Cells.Clear ' Clear sheets
            End If

    Next Sh

End Sub
List the name of all sheets
Using a loop on every sheet of the workbook, we will write the name of each sheet in the first sheet.
Sub ListSheets()

    Dim Sh As Worksheet
    Dim i As Integer

    i = 1

    'Loop on all sheets to get names
    For Each Sh In Worksheets
        ActiveSheet.Cells(i, 1) = Sh.Name
        i = i + 1
    Next Sh

End Sub
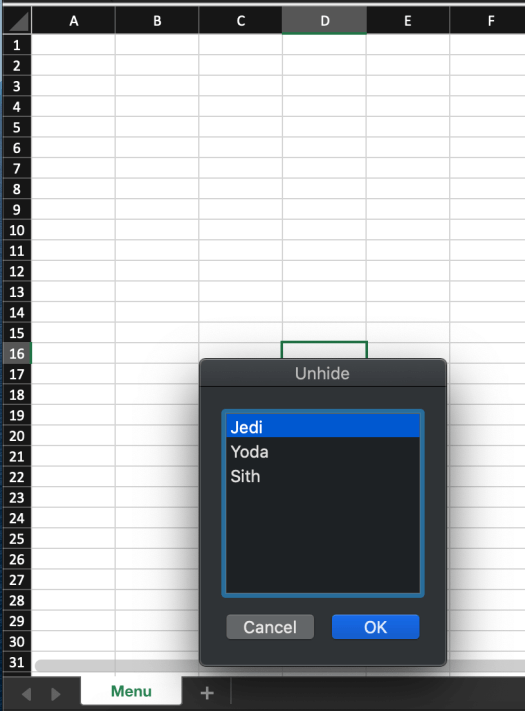
Hide / Unhide sheet
As with the rows and columns of a sheet, it is also possible to hide and unhide the sheets from a workbook.
Used well, this ability to hide and unhide can also give users the feeling of navigation, such as on an application or a web page.
Imagine that the user clicks on a button and changes page, you will simply have to give the order in the macro to hide the sheet on which he has just clicked, activate the second sheet by unhiding it.
Sub HideOrUnhide()

    Dim Sh As Worksheet

    'Hide all sheets except the sheet named "Menu"
    For Each Sh In ActiveWorkbook.Sheets
        If Sh.Name <> "Menu" Then Sh.Visible = False
    Next Sh

End Sub
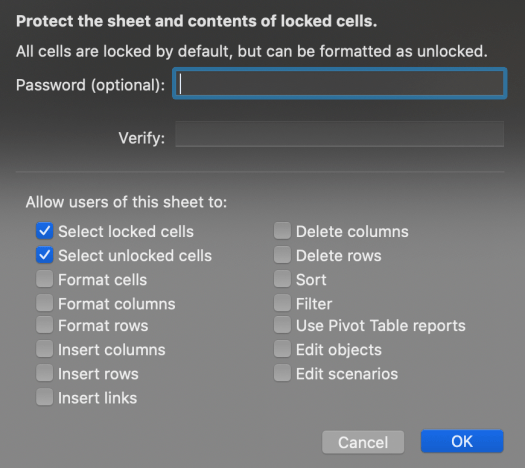
Protect a sheet with a password
For confidentiality reasons, it may be useful to lock an excel sheet of a workbook by using a password.
At the time of protection, in addition to specifying the password, you must specify all the actions you want to block (select locked cells, use filter, use PivotTable …).
Below the VBA code which can protect a workbook with the Protect method.
Sub ProtectSheet()
'Lock the sheet with a password

    ThisWorkbook.Sheets("Menu").Cells.Locked = True
    Sheets("Accounting").Protect "azerty", True, True

End Sub
Unprotect a sheet with a password
At the same way, if you are in front of a protect tab, you can unprotect the sheet using the right password with the Unprotect method.
Sub UnProtectSheet()
'Unlock the sheet with the required password

    Sheets("Accounting").Unprotect "azerty"

End Sub
Protect all sheets with a password
If your need is to protect all sheets in your workbook, by using the VBA method Protect you just need to loop on all tabs in the workbook.
Sub ProtectAllSheets()
'Lock all sheets with a password

    Dim NumberSheets, i As Long

    'Count the number of sheet in the wbk
    NumberSheets = Application.Sheets.Count

    For i = 1 To NumberSheets
        Sheets(i).Protect "password123", True, True
    Next i

End Sub
Unprotect all sheets with a password
To unprotect all sheets, loop on each sheet and use the VBA Unprotect method with the right password.
Sub UnprotectAllSheets()
'Unlock all sheets with the required password

    Dim NumberSheets, i As Long

    NumberSheets = Application.Sheets.Count

    For i = 1 To NumberSheets
        Sheets(i).Unprotect "password123"
    Next i

End Sub
VBA Function to test if a sheet exists
Below a VBA function which can test if a sheet exists or not in your workbook. This function takes as parameter the name of the searching sheet as a string and the workbook.
Public Function ExistSheet(ShName As String, Wb As Workbook) As Boolean

    Dim Sh As Worksheet

    ExistSheets = False

    For Each Sh In Wb.Sheets
        If Sh.Name = ShName Then ExistSheets = True
    Next Sh

End Function
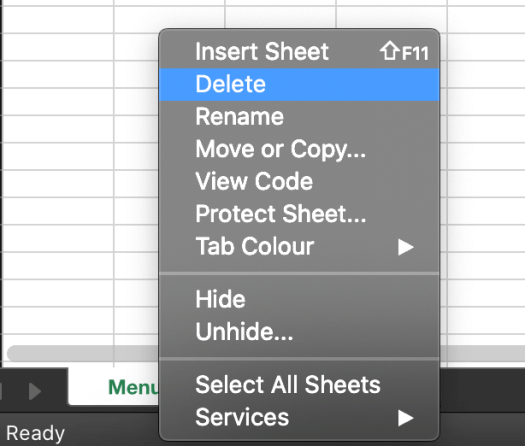
Delete a sheet
Erasing a sheet can be easily done using the delete property.
Sub DeleteTab()

    Application.DisplayAlerts = False

    Sheets("Weather").Delete

    Application.DisplayAlerts = True

End Sub
Restart your macro by deleting all sheets
In the menu options of your macro, it is useful to insert a button allowing to restart the launch and which will delete all the sheets created except the essential sheets, like your menu.
You can add deletions of values to cells, for example, places where file paths have been added.
Sub RestartMacro()

    Application.DisplayAlerts = False

    Dim Sh As Worksheet

     'Sheets("MENU").Range("D5").Value2 = ""

    'Delete all sheets except the MENU and the Userguide
    For Each Sh In Wb.Sheets
        If Sh.Name <> "MENU" And  Sh.Name <> "USERGUIDE" Then
            Sh.Delete
        End If
    Next Sh

    Application.DisplayAlerts = True

End Sub
