
The central object of an Excel sheet, itself contained in a workbook, is the cell or the range of cells.
The cells object always refers to a single cell, while the range object can refer to one or more disjoined cells.
In VBA like sheet and workbook objects, range and cell objects have attached properties and methods. Properties are something can describe which an object, while methods act with the object.
VBA follow object hierarchy pattern to refer object in Excel using .dot operator.

Set a Range
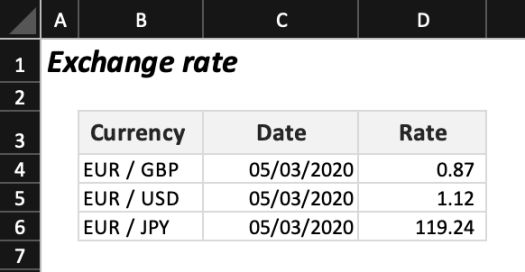
When we know in advance that we are going to work on several cells at the same time, it is preferable to define a Range object which will contain all the cells useful for analysis.
To do it in a VBA procedure, you must declare an object of type range using the Dim tool, then use the Set object.
Sub SetRange()

   'Declare the variable as a range
   Dim RngRate As Range

   'Define the range of values
   Set RngRate = Range("B4:D6").Value2

End Sub
Loop through cells in a range
To loop over all cells of a range object, you must use a For Each object loop in the range.
Sub LoopCells()

    Dim Rng As Range

    'Loop within each cell in range
    For Each Rng In Range("B4:D6")
        MsgBox Rng.Value2
    Next Rng

End Sub
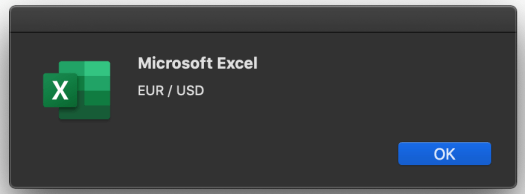
The procedure will therefore return nine MsgBox for each value in the cell range.
Multiplication on range
By using a loop on a range it is possible to multiply each cell of a range by a value defined by a user. To ask the user to type a value, you can use the VBA InputBox command.
Sub MultiplyValuesInRange()

    'Communicate with the user
    C = InputBox("Enter the number to multiple the range", "Input Required")

    'Loop on each cell in the range
    For Each rng In Range("A1:D42")
        If WorksheetFunction.IsNumber(rng) Then rng.Value2 = rng * C
    Next rng

End Sub
Layout Cells
You should never neglect the design aspect of your spreadsheet, and especially in the context of a report that will be sent to several people. T
he clearer and more concise your results file is, the better the readability.
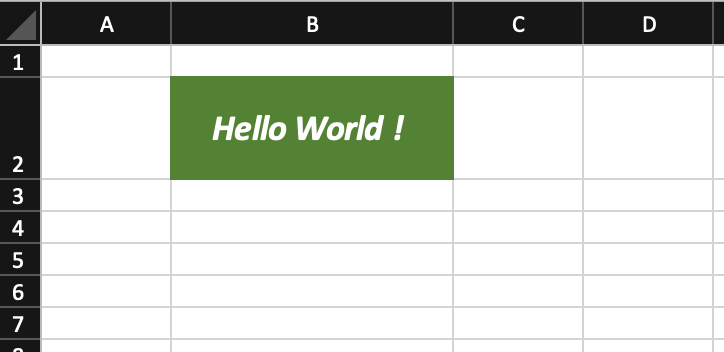
With VBA you can automatically format your results by working the layout (aligning the text horizontally and vertically, bold, italic, text size, font, text colour, cell colour, management of borders …).
Sub LayoutCells()

    With Cells(2, 2)  'Cells(Row,Column)
        .Value2 = "Hello World" 'write in a cell
        'Value2 faster than a Value method
        .Font.Bold = True 'bold
        .Interior.Color = RGB(84, 130, 53) ' interior color Green
        .Font.Color = RGB(255, 255, 255) 'White
        .Font.Italic = True 'italic
        .Font.Size = 22 'police size
        .WrapText = True 'visibility of the text
        .HorizontalAlignment = xlCenter
        .VerticalAlignment = xlCenter
    End With

End Sub
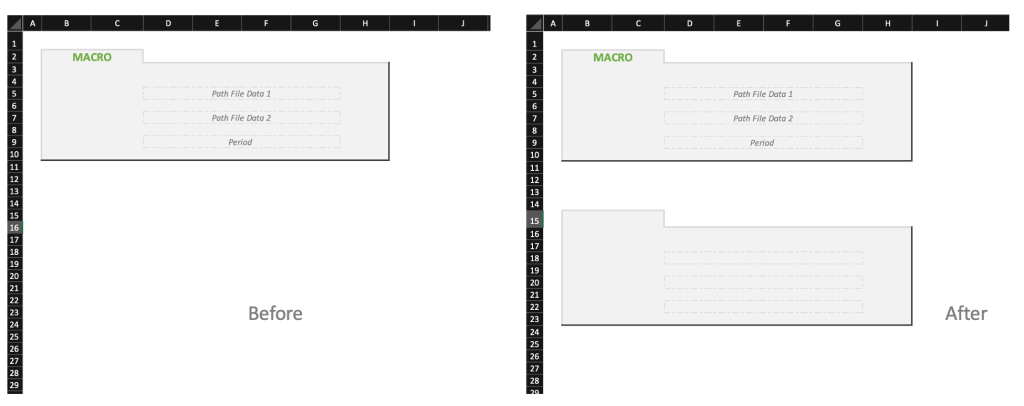
Format Painter
The advantage of making a painter format is to immediately reproduce the format of a range object.
To make a painter format in VBA, you must copy the cell range and copy using the PasteSpecial method and associate the paste parameter with the value xlPasteFormats.
Sub FormatPainter()
'Use the format painter with the copy method

    Range("A1:H10").Copy
    'Paste format to use the format painter
    Range("A14").PasteSpecial Paste:=xlPasteFormats
    Application.CutCopyMode = False

End Sub
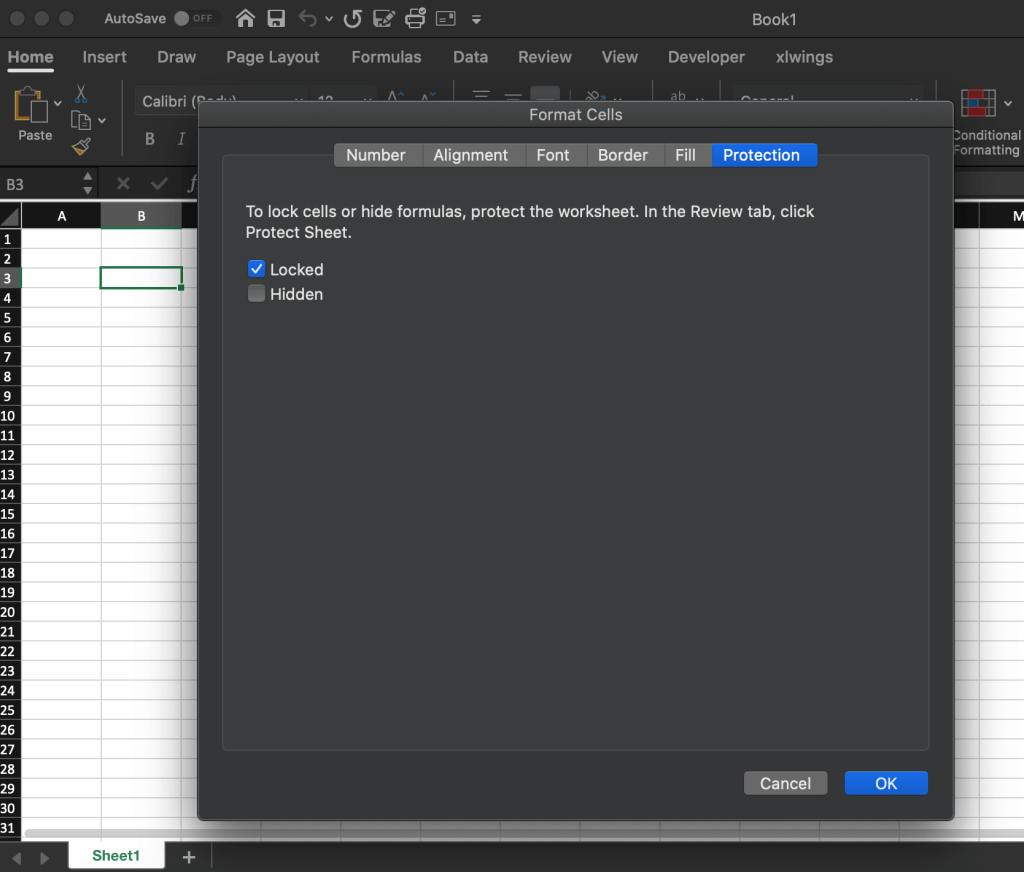
Lock Cells
When you protect a sheet with VBA, the cells that will be protected will be defined by the boolean value of the locked property. If the lock property is activated then when locking these cells will be considered protected and vice versa.
In the example below, the property of locked is set for all Cells of the sheet, using Cells.Locked.
Sub LockCellsWithFormulas()

    With ActiveSheet
        .Cells.Locked = False 'Unlocked all cells
        .Cells.SpecialCells(xlCellTypeFormulas).Locked = True 'locked formula cells
        .Unprotect
        .Protect AllowDeletingRows:=True
    End With

End Sub
Upper Case
How many times have you had to rewrite your text because it was lowercase instead of being uppercase?
To do this quickly with VBA, use the Upper method UCase on the defined range object.
Sub GetUpperCase()

    Dim rng As Range

    For Each rng In Range("A1:D42")
        If Application.WorksheetFunction.IsText(rng) Then
            rng.Value2 = UCase(rng)
        End If
    Next rng

End Sub
Lower Case
How many times did you have to rewrite your text because it was in capital letters instead of being lowercase?
To do this quickly with VBA, use the Lower method LCase on the defined range object.
Sub GetLowerCase()

    Dim rng As Range

    For Each rng In Range("A1:D42")
        If Application.WorksheetFunction.IsText(rng) Then
            rng.Value2 = LCase(rng)
        End If
    Next rng

End Sub
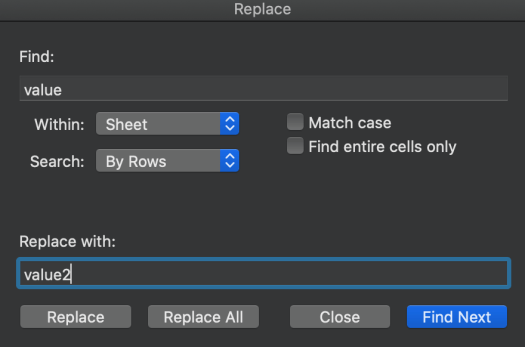
Replace values
If you are handling a lot of data, you will face format problems with some data. Sometimes these problems concern the separators of thousands and decimals which are wrongly defined by commas or periods.
If you need to reverse bad writing, a good method with VBA is to replace them by using the Replace method on your objects.
Sub UseReplace()
'Replace "." by ","

    'Replace value in a sheet
    Sheets("Bitcoin").UsedRange.Replace What:=".", Replacement:=","

    'Replace value in a cell
    Sheets("Weather").Cells(42, 42).Replace What:=".", Replacement:=","

    'Replace value in a Range
    Sheets("Maps").Range("C17").Replace What:=".", Replacement:=","

End Sub
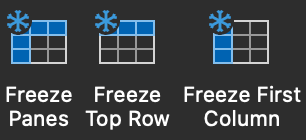
Freeze Panes
When you move on a sheet with a large amount of data, you often see an identifier per line or a key data that you want to see constantly while browsing the columns of the file.
When you scroll down you also want to see the titles of your data. In this case, an effective way is to use the VBA FreezePanes method on your sheet.
Sub FreezePanes()

    'Choose the location : row +1 and column+1
    'to active the freeze
    ActiveWindow.FreezePanes = False
    Range("B4").Select
    ActiveWindow.FreezePanes = True

End Sub
Filter on a range of cells
When working with large data files, you will certainly use filters to find certain data. Filters in VBA apply to Range objects using the AutoFilter method. Before using a filter it is best to test if filters are already present.
To test a contain type filter, you must put an asterisk between the search word * … *.
Sub Filter()

    Sheets("Test").Activate

    'Remove filters if already exist
    With ActiveSheet
        If .FilterMode = True Then .ShowAllData
    End With

    'Filter on Potatoes
    Range("A1").AutoFilter Field:=1, Criteria1:="Potatoes"
    'Filter if it contains potato
    Range("A1").AutoFilter Field:=3, Criteria1:="*potato*"

End Sub

Select multiple value in the Filter
To apply multiple values as a filter to a field in your data, use an Array and the property xlFilterValues for the Operator argument.
Sub MultipleValueAsFilterWithArray()

    Sheets("Test").Activate

    'Remove filters if already exist
    With ActiveSheet
        If .FilterMode = True Then .ShowAllData
    End With

    'Filter on Potatoes & Potato in the first column
    Range("A1").AutoFilter Field:=1, Criteria1:=Array("Potatoes", "Potato"),  Operator:=xlFilterValues

End Sub
Remove duplicates
It happens more often than you would like to have duplicate data. To remove this redundant data, the VBA RemoveDuplicate method is very efficient.
Sub RemoveDuplicates()

    'Delete duplicate of 12 columns
    ActiveSheet.Range("A1:L42").RemoveDuplicates Columns = _
            Array(1, 2, 3, 4, 5, 6, 7, 8, 9, 10, 11, 12), Header = xlYes

    'Delete duplicate of columns A and B
    ActiveSheet.Range("A1:L42").RemoveDuplicates Columns = _
            Array(1, 2), Header = xlYes

End Sub

Sort data with one key
Better readability on a file requires efficient sorting of your data. When the data is sorted, the filters also apply more quickly to your data. You can sort your data with one or more keys.
Sub SortDataWithOneKey()

    'Sort the database by country
    NumColCountry = 10
    Sheets("Database").Columns("O:VO").Sort Key:=Cells(1, NumColCountry), _
   Order:=xlAscending, Header:=xlYes

End Sub
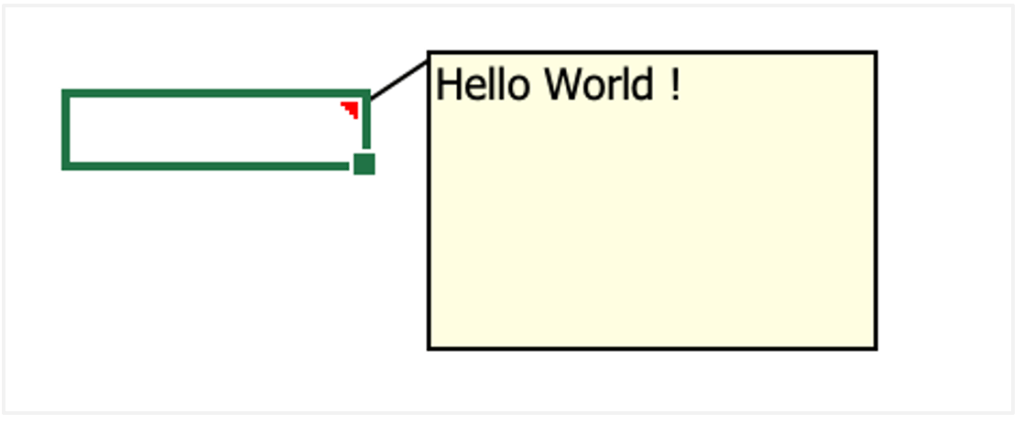
Add a comment in a cell
You can write in a cell but you can also add a comment in an existing cell already filled by using the VBA method AddComment on a range. Your comment will be displayed when the mouse points to the cell.
Sub AddCommentInCells()
'Add a comment in a cell

    With Range("B2")
        .Value2 = ""
        .AddComment "Hello World !"
    End With

    Range("B3").AddComment "I am a comment !"

End Sub
Format comment in a cell
Comments have a default format, but you can change the assigned formatting like in the below example.
Sub FormatCommentCells()
'Formating the comment box of the cell

    Dim UserComment As String

    With Cells(2,2)
        .ClearComments
        'Add a comment box in the cell
        .AddComment
        'Define the comment as a string
        UserComment = "Authors : A.Einstein" & Chr(10) & _
                                "Life is like cycling ... Life is like cycling, you have to" & _
                                            "move forward so as not to lose your balance."
        'Add the text in the comment box
        .Comment.Text Text:=UserComment
        'Color the box comment
        .Comment.Shape.Fill.ForeColor.RGB = RGB(255, 246, 239)
        'Change the shape of the comment box
        .Comment.Shape.AutoShapeType = msoShapeRoundedRectangle
    End With

    'Text in the comment format
    With Cells(2, 2).Comment.Shape.TextFrame.Characters.Font
        .Size = 11
        .Name = "Calibri"
    End With

    Cells(2, 2).Comment.Shape.TextFrame.AutoSize = True

End Sub
Add an image as comment
Usually, comments are in the form of text but it is also possible to put an image using VBA code as comment.
Sub FillCommentWithImage()

    Dim PathJpg As String
    Dim UserCom As Comment

    'Create a comment
    Cells(1, 1).ClearComments
    Set UserCom = Cells(1, 1).AddComment
    PathJpg = "Weather.jpg"

    'Insert the picture
    UserCom.Text Text:="Hey you !"
    UserCom.Shape.Fill.UserPicture (PathJpg)
    UserCom.Shape.ScaleHeight 5, msoFalse, msoScaleFormTopLeft
    UserCom.Shape.ScaleWidth 5, msoFalse, msoScaleFromTopLeft

End Sub
Conditional formatting
To highlight specific data according to your needs, you can use the conditional format on cells and range. In the VBA procedure below, values greater than 50 in the cell range B2 to E10 will be coloured red, while values less than 20 will be coloured green.
Sub DoConditionalFormatting()

    Dim rng As Range
    Dim ConditionOne, ConditionTwo As FormatCondition

    'Select the range for the conditions
    Set rng = Range("B2:E10")
    rng.FormatConditions.Delete

    'Apply the conditions
    Set ConditionOne = rng.FormatConditions.Add(xlCellValue, xlGreater, "=50")
    Set ConditionTwo = rng.FormatConditions.Add(xlCellValue, xlLess, "=20")

    'Set the condition 1
    With ConditionOne
        .Font.Color = vbRed
        .Font.Bold = True
    End With

     'Set the condition 2
    With ConditionTwo
        .Font.Color = vbGreen
        .Font.Bold = True
    End With

End Sub
Add a dropdown list
Imagine that you have to send a file to be completed by users. Some data can only be filled in with precise values. In this case, you need to create a scrolling list through VBA. The user will, therefore, be forced to choose a value from this list.
Sub DropdownList()

    'Add a dropdown list
    Range("B4").Validation.Add Type:=xlValidateList, _
        AlertStyle:=xlValidAlertStop, Formula1:="Beck,Joe,Candace,Love,Forty"

End Sub

Remove a dropdown list
You can also delete the drop–down list.
Sub RemoveDropdownList()

    'Delete dropdown list
    Range("B4").Validation.Delete

End Sub
